
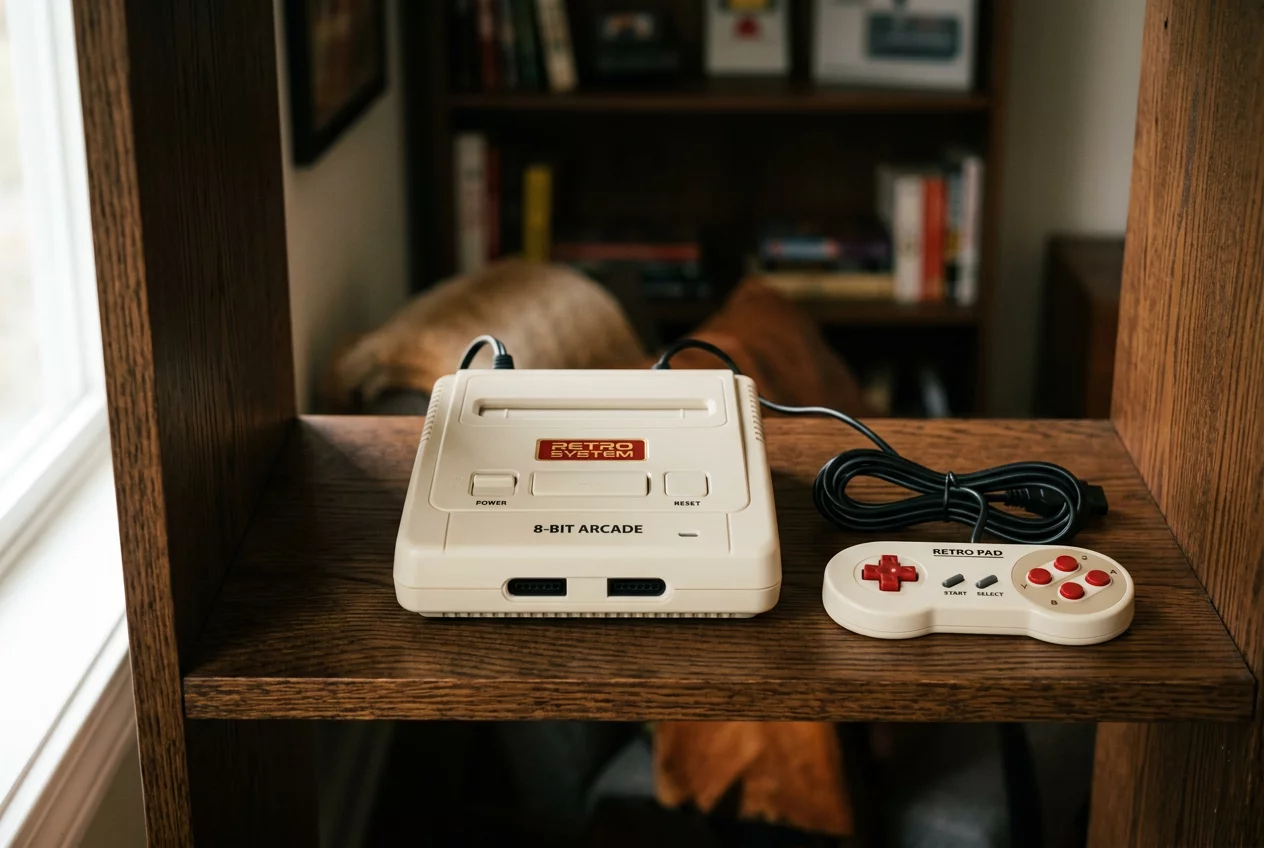
For many collectors, the true crown of their library isn't just a rare cartridge, but the hardware that runs it. However, electronic components from the 80s and 90s were not designed to last forever. Oxidation, dust buildup, and leaking capacitors are silent killers of classic Dendy, Sega, and Nintendo systems. Restoring this hardware requires patience, the right tools, and a basic understanding of electronics.
The Art of Deep Cleaning
Most "broken" systems are actually just dirty. Before assuming a console is dead, start with a thorough cleaning. You will need high-concentration isopropyl alcohol (90% or higher), cotton swabs, and canned air. Carefully disassemble the outer shell and use the air to blow out years of accumulated dust. For the cartridge slots, a dedicated cleaning kit or a thin microfiber cloth wrapped around a credit card works wonders. If you are active in any online gaming community, you will find that a clean connection fixes 90% of boot-up issues.
Addressing Controller Fatigue
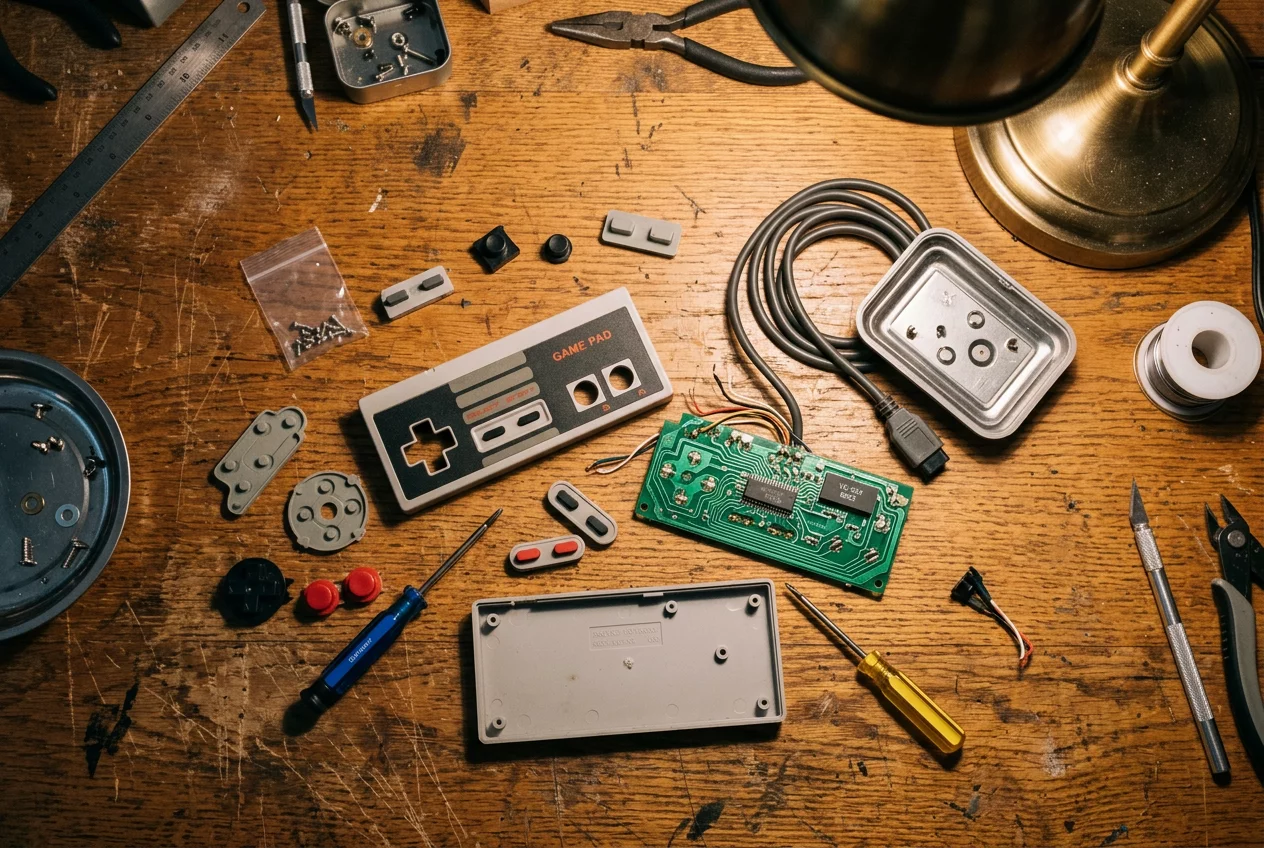
Controllers often suffer the most because of physical wear. Buttons that require a heavy press usually have dirty conductive pads. Open the controller, remove the rubber membranes, and clean both the pads and the PCB contact points with alcohol. If the rubber is torn, many specialty shops now sell high-quality replacement membranes that restore that original "clicky" feel.
Advanced Repairs: Capacitors and Soldering
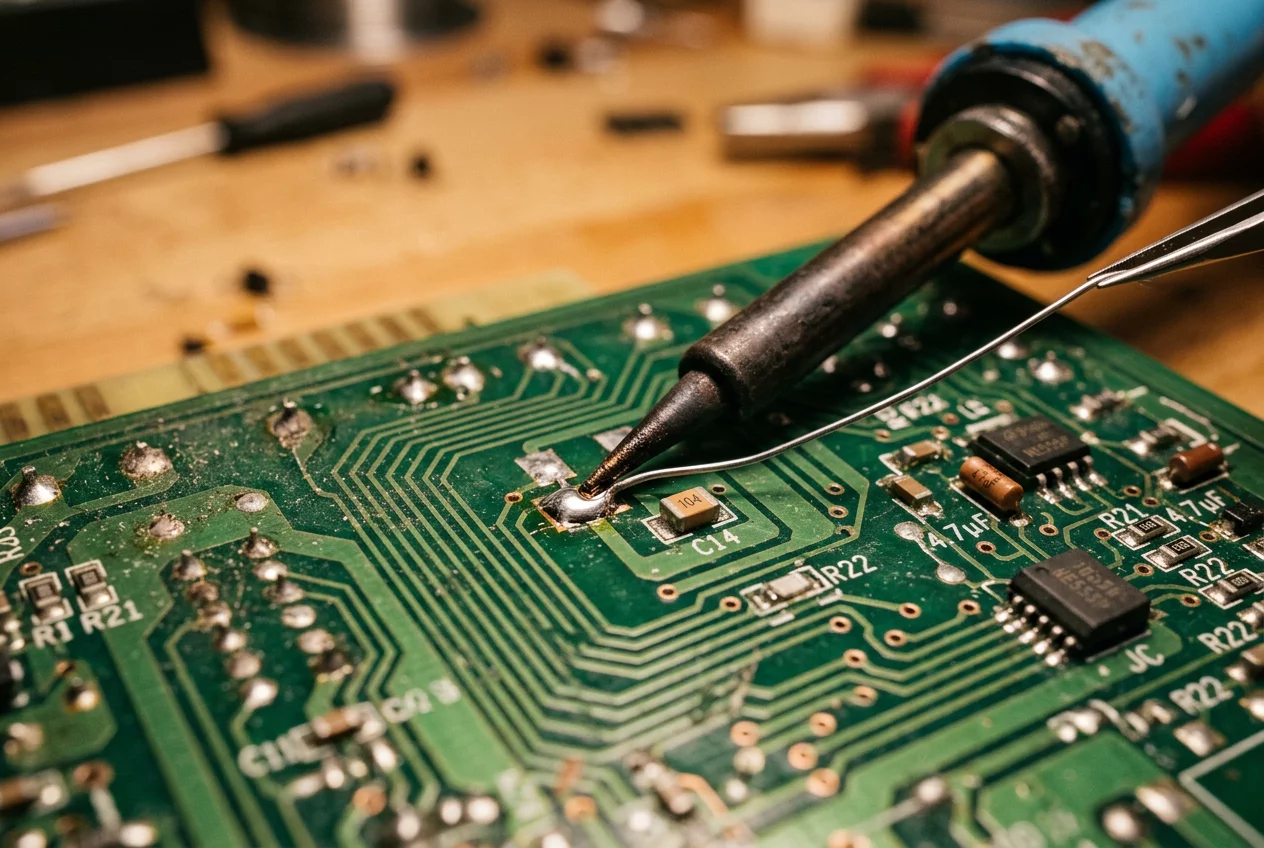
If cleaning doesn't work, it is time to look at the capacitors. These small cylinders store electricity and can leak corrosive fluid over time, damaging the motherboard. Replacing them requires basic soldering skills. Take a photo of the original board before starting to ensure the polarity of new components is correct. While it might seem daunting, successfully resuscitating a console through soldering is one of the most rewarding parts of the retro hobby.
Discussion
Sam R.
2026-05-30Need to fix my old controller now.
Leave a comment